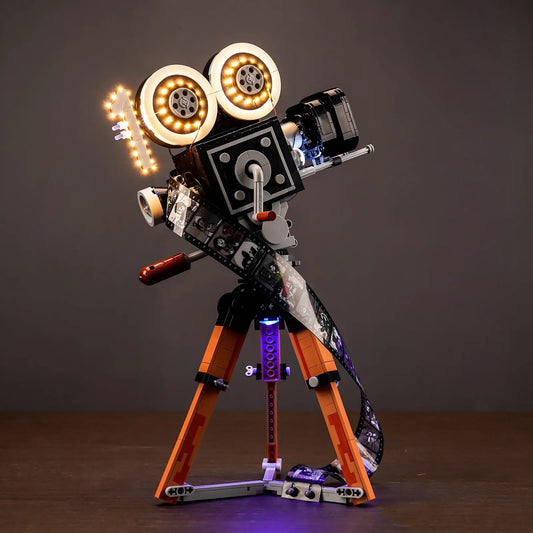


Light Kit for LEGO® Disney™ Walt Disney Tribute Camera #43230
LED Light Kit for #43230
In stock

Earn points with BMB Insider
Learn more
LED light kit only.
LEGO® set not included.

Free standard shipping from 80 EUR after discounts
Delivery and returns
Your guide to lighting this set
Assembly instructionsFeatures
A light kit for your favourite build

A reason to look again: #43230

Your collection, your stories

Take time for the details

A thoughtful way to give

Before fitting #43230

Plan a place and connection


Pick Your Version
Select the option that matches your display preferences and lighting needs.
Set it once. Leave it glowing.
For the build that's found its shelf and isn't moving again.
- Battery Box – compact 3×AAA unit (batteries not included)
- Full LED set, tuned to this model
- Custom effects, pre-programmed for this build
- Precision spotlights on the details worth staring at
- PDF manual and video guide
Flick it on when you walk in. That's the whole ritual.
Change the mood without moving.
For the build that shares a room you actually live in.
- Everything in the Classic version
- Wireless remote — works up to 5 m / 16 ft
- Switch between effects instantly
- Dim it for evenings, full brightness when someone's over
- On/off without reaching behind the shelf
One build, a different scene every night.
Your collection for another display idea: #43230
About
Bright My Bricks
Transform your finished build into a true display piece with a Bright My Bricks LED light kit. Designed specifically for this LEGO set, our kit delivers precise, warm illumination that highlights every detail. Note: you are purchasing the lighting kit only; the LEGO set itself is sold separately
Instructions
Every kit ships with a printed quick-start card, a full PDF manual and a step-by-step video. Here is the shape of the job before you open the bag.

Step 1: Unpack and check
Build the LEGO® set first — lighting a half-finished model means taking it apart again. Lay every component out against the parts list before you start: a missing piece found now costs five minutes, found mid-install it costs the session.

Step 2: Position your LED lights
Each LED goes in a spot the guide names. Thread the wire between bricks as you go rather than at the end — routing is the one step worth taking slowly, and it is what separates a kit you notice from one you do not.

Step 3: Wire your power system
Seat each cable in its module. Present the connector square and push gently; if it resists, back off and realign rather than forcing it. A forced connector is the one thing that bends a pin.

Step 4: Power up and check
Test everything before you close it up. Confirm each LED lights, then hide any wire that shows. A dead connection found now is trivial; found once the set is sealed, it is not.

Step 5: Perfect your display
Tuck the last of the wire out of sight and put the set where it belongs. Installed as directed, the build looks untouched — until you switch it on.
The last step isn't in this guide. It's the evening you finish, turn the room lights off, and watch something you spent weeks on hold its own glow. That is the moment the kit was built for.
Customer Reviews
FAQs
Do I need any special skills or tools?
No. If you can build the set, you can light it. Everything is plug-and-play — no soldering, no wiring knowledge, no tools beyond your hands. The manual walks each step with photos.
Do I have to take my set apart?
Rarely more than partially. You'll lift a few plates and open a few sections to route wire and seat LEDs. The guide tells you exactly which ones, zone by zone, so you're never guessing.
How is the kit powered?
Two options, both included in the design: a battery module (3×AAA, batteries not supplied) for sets you move around, or USB into any power bank, wall adapter or computer for a display that stays lit.
Will the wires show?
Not once installed as directed. The wire is flat ribbon, thin enough to run under a plate or between studs without breaking clutch. Routing is the one part of installation worth taking slowly — done properly, the set looks untouched.
Is it safe for my bricks?
Yes. The whole system runs at 5V with micro-LEDs that don't heat up, so there's nothing to warp, melt or discolour. Components are tested against international safety standards, and nothing in the kit modifies or marks a brick — the installation is fully reversible.
What if a part is missing or faulty?
Use our Faulty Component Request page and we'll send a replacement. Two-year cover, in line with EU consumer law.
Lit by AFOLs
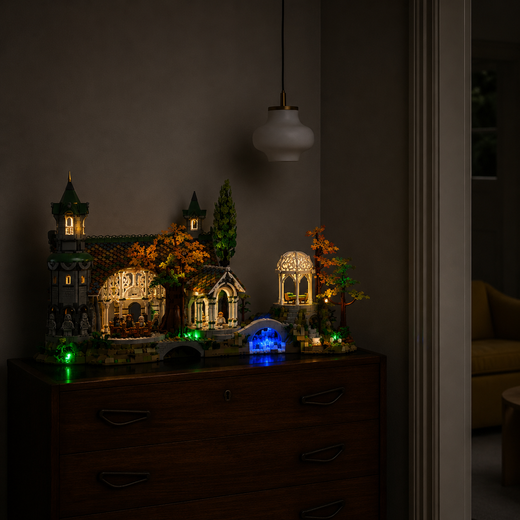
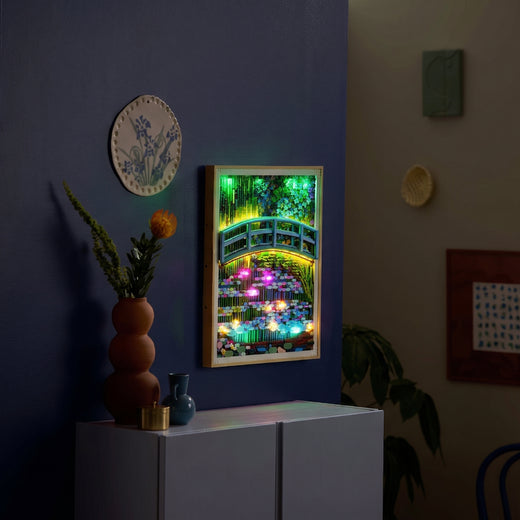
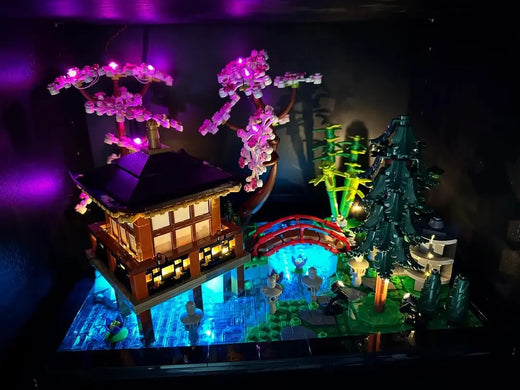
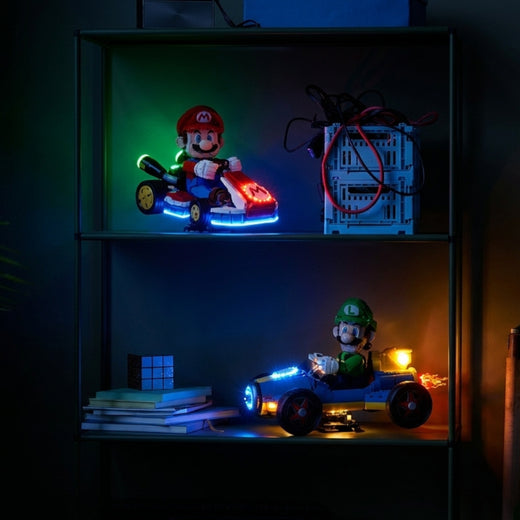
Share your photos on Instagram and tag @brightmybricks in the caption for a chance to be featured on our website.



Complete Your Collection
View All-
Light Kit for LEGO® Ideas ǀ Disney Pixar Luxo Jr. #21357
Regular price 34,99 €Regular price -
Light Kit for LEGO® Disney Lightning McQueen #77255
Regular price 39,99 €Regular price -
Light Kit for LEGO® Stitch #43249
Regular price 44,99 €Regular price -
Light Kit for LEGO® Disney Tim Burton's The Nightmare Before Christmas #21351
Regular price 59,99 €Regular price -

 Best Sellers
Light Kit for LEGO® Disney Castle #43222
Regular price 49,99 €Regular price -
Warm Light Kit for LEGO® Walt Disney Tribute Camera #43230
Regular price 39,99 €Regular price -
Light Kit for LEGO® Disney Beauty and the Beast Castle #43263
Regular price 99,99 €Regular price -
Light Kit for LEGO® Disney Young Simba the Lion King #43247
Regular price 39,99 €Regular price