• DIY Spray Module for LEGO® Building Blocks, connector detail
  • DIY Spray Module for LEGO® Building Blocks — Bright My Bricks
  • close-up of the DIY Spray Module for LEGO® Building Blocks
  • DIY Spray Module for LEGO® Building Blocks shown in full
  • specification view of the DIY Spray Module for LEGO® Building Blocks
  • DIY Spray Module for LEGO® Building Blocks, second angle
  • DIY Spray Module for LEGO® Building Blocks — Bright My Bricks
  • close-up of the DIY Spray Module for LEGO® Building Blocks
  • DIY Spray Module for LEGO® Building Blocks, connector detail
DIY Spray Module for LEGO® Building Blocks, connector detail
DIY Spray Module for LEGO® Building Blocks — Bright My Bricks
close-up of the DIY Spray Module for LEGO® Building Blocks
DIY Spray Module for LEGO® Building Blocks shown in full
specification view of the DIY Spray Module for LEGO® Building Blocks
DIY Spray Module for LEGO® Building Blocks, second angle
DIY Spray Module for LEGO® Building Blocks — Bright My Bricks
close-up of the DIY Spray Module for LEGO® Building Blocks
DIY Spray Module for LEGO® Building Blocks, connector detail

DIY Spray Module Accessories for LEGO® Building Blocks

DIY Spray Module

Regular price 14,99 €
Regular price Sale price 14,99 €

In stock

Quantity
Description

Every kit is built around three things we won't compromise on.

Housing that disappears into the build. Our LED casings and modules clip onto standard studs like any other piece — no adhesive, no brackets, nothing that reads as an add-on once the set is back together.

Wiring you route once and forget. Flat ribbon wire, thin enough to sit under a plate or turn a corner without lifting a brick. Connectors are non-polarised, so there's no wrong way round and no squinting at tiny arrows mid-install.

Light tuned to the set, not to a catalogue. Each kit gets its own brightness balance and effects — flicker for a forge, a slow fade for a cockpit — decided set by set rather than applied from a default.

Delivery & Returns

Fast dispatch. Orders placed before 12 PM (CEST / GMT+2) are dispatched the same day*. All other orders are dispatched the next business day.

Tiered shipping rates. Costs are calculated based on your order value. See our shipping page for full details.

Simple returns. Need to make a return? Visit our returns request page to begin.

*Same-day dispatch is not guaranteed during high-volume sale events.

Shipping & returns policy

Warranty & Disclaimers

Product disclaimer. This listing is for a Bright My Bricks™ LED lighting kit. The LEGO® set shown in our photos and videos is sold separately and is not included. Bright My Bricks is an independent brand with no affiliation to, sponsorship from, or endorsement by the LEGO Group. LEGO® is a trademark of the LEGO Group.

Safety notice. Contains small parts and batteries. Not for children under 3, in line with EN 71-1. Adult supervision required for younger builders during installation and use.

Installation guidelines. Present the connector square to the port and push gently until it seats. If it resists, back off and realign rather than forcing it — forcing a misaligned connector is the one thing that can bend a pin. Handle modules by the housing rather than the wire.

2-year warranty coverage. Every kit is covered for two years, in line with EU consumer law. If a component arrives faulty or fails in normal use, use our Faulty Component Request page and we'll send a replacement.

Contact support

Instructions

Digital manuals and video instructions for this light kit are available on our instructions page.

The guide walks through each component and its function, and shares the practices that get the most out of your build.

If any part is missing or damaged, contact us — we're here to help.

Assembly instructions

Features

DIY Spray Module Accessories for LEGO® Building Blocks

This module makes mist, not light. A 5V ultrasonic atomiser sits in a shallow reservoir of water, and a control board turns it into a fine cold vapour — steam over a kettle, smoke from a chimney, fog across a base. One click on the board switch starts it, a double click stops it. Pair it with our newest LEGO light kits.

  • Cold Vapour, Not Heat — DIY Spray Module Accessories for LEGO® Building Blocks

    Cold Vapour, Not Heat

    The disc vibrates at ultrasonic frequency and lifts water off its surface as micro-droplets. Nothing burns and nothing gets hot, which is the only way a mist effect can ever sit inside a plastic build.

  • One-Touch Control — DIY Spray Module Accessories for LEGO® Building Blocks

    One-Touch Control

    A single click on the board switch starts the module and lights its indicator; a double click shuts it down. No app to pair, no remote to lose, no menu — a physical button on a board you can reach. Browse more in our LEGO DIY lighting components.

  • The Atomiser Sits Face Up — DIY Spray Module Accessories for LEGO® Building Blocks

    The Atomiser Sits Face Up

    The disc has to be installed with its soldered side facing up and its underside in contact with the water — that orientation is the difference between a working mist and nothing at all. The guide is explicit about it because it is the one step people get wrong.

  • Pairs With Lighting — DIY Spray Module Accessories for LEGO® Building Blocks

    Pairs With Lighting

    Mist alone is invisible. Mist crossing a beam of light is the whole effect — which is why this module is built around the same 5V supply as our LED kits and can share a port with one. Backlit vapour is what sells a chimney, a waterfall or a cauldron. Discover more in our best-selling LEGO light kits.

  • Built for Custom Builds — DIY Spray Module Accessories for LEGO® Building Blocks

    Built for Custom Builds

    This is a component, not a kit cut for one set. It suits MOCs and dioramas where a reservoir can be hidden — a base, a plinth, a hollow rock. It is not designed to be dropped into a sealed official set without planning where the water goes.

  • What's in the Box, and How It Goes In — DIY Spray Module Accessories for LEGO® Building Blocks

    What's in the Box, and How It Goes In

    The control board with its power input and output ports, the atomiser disc on its lead, and connecting cables. Input is 5V DC from any USB source. The switch on the board handles on and off; the indicator confirms it is running. Keep the water level topped up to the disc and keep the board itself dry — it is the one part of the module that must never sit in the reservoir. Read what collectors say about our kits.

Pick Your Version

Select the option that matches your display preferences and lighting needs.

Set it once. Leave it glowing.

For the build that's found its shelf and isn't moving again.

  • Battery Box – compact 3×AAA unit (batteries not included)
  • Full LED set, tuned to this model
  • Custom effects, pre-programmed for this build
  • Precision spotlights on the details worth staring at
  • PDF manual and video guide

Flick it on when you walk in. That's the whole ritual.

Can DIY Spray Module Accessories for LEGO® Building Blocks expand a LEGO® lighting layout?

DIY Spray Module Accessories for LEGO® Building Blocks in a custom LEGO® lighting layout should solve one clear problem: distribute power, control an effect or connect several areas cleanly. Test the component outside the model first, then plan access to its connectors before closing the build.

Every technique that makes a diorama feel real is about the space between objects rather than the objects themselves — depth, haze, atmosphere. Model railway builders worked this out decades ago and have been running smoke units ever since. A LEGO build with a working plume over the chimney stops reading as a model of a house and starts reading as a house on a cold morning. Find more at our LEGO DIY lighting components and newest LEGO light kits.

About

Bright My Bricks

Transform your finished build into a true display piece with a Bright My Bricks LED light kit. Designed specifically for this LEGO set, our kit delivers precise, warm illumination that highlights every detail. Note: you are purchasing the lighting kit only; the LEGO set itself is sold separately

Instructions

Every kit ships with a printed quick-start card, a full PDF manual and a step-by-step video. Here is the shape of the job before you open the bag.

  1. Unpack and check

    Step 1: Unpack and check

    Build the LEGO® set first — lighting a half-finished model means taking it apart again. Lay every component out against the parts list before you start: a missing piece found now costs five minutes, found mid-install it costs the session.

  2. Position your LED lights

    Step 2: Position your LED lights

    Each LED goes in a spot the guide names. Thread the wire between bricks as you go rather than at the end — routing is the one step worth taking slowly, and it is what separates a kit you notice from one you do not.

  3. Wire your power system

    Step 3: Wire your power system

    Seat each cable in its module. Present the connector square and push gently; if it resists, back off and realign rather than forcing it. A forced connector is the one thing that bends a pin.

  4. Power up and check

    Step 4: Power up and check

    Test everything before you close it up. Confirm each LED lights, then hide any wire that shows. A dead connection found now is trivial; found once the set is sealed, it is not.

  5. Perfect your display

    Step 5: Perfect your display

    Tuck the last of the wire out of sight and put the set where it belongs. Installed as directed, the build looks untouched — until you switch it on.

The last step isn't in this guide. It's the evening you finish, turn the room lights off, and watch something you spent weeks on hold its own glow. That is the moment the kit was built for.

Customer Reviews

FAQs

Do I need any special skills or tools?

No. If you can build the set, you can light it. Everything is plug-and-play — no soldering, no wiring knowledge, no tools beyond your hands. The manual walks each step with photos.

Do I have to take my set apart?

Rarely more than partially. You'll lift a few plates and open a few sections to route wire and seat LEDs. The guide tells you exactly which ones, zone by zone, so you're never guessing.

How is the kit powered?

Two options, both included in the design: a battery module (3×AAA, batteries not supplied) for sets you move around, or USB into any power bank, wall adapter or computer for a display that stays lit.

Will the wires show?

Not once installed as directed. The wire is flat ribbon, thin enough to run under a plate or between studs without breaking clutch. Routing is the one part of installation worth taking slowly — done properly, the set looks untouched.

Is it safe for my bricks?

Yes. The whole system runs at 5V with micro-LEDs that don't heat up, so there's nothing to warp, melt or discolour. Components are tested against international safety standards, and nothing in the kit modifies or marks a brick — the installation is fully reversible.

What if a part is missing or faulty?

Use our Faulty Component Request page and we'll send a replacement. Two-year cover, in line with EU consumer law.

Lit by AFOLs

Share your photos on Instagram and tag @brightmybricks in the caption for a chance to be featured on our website.

@brightmybricks

Find the kit for my set
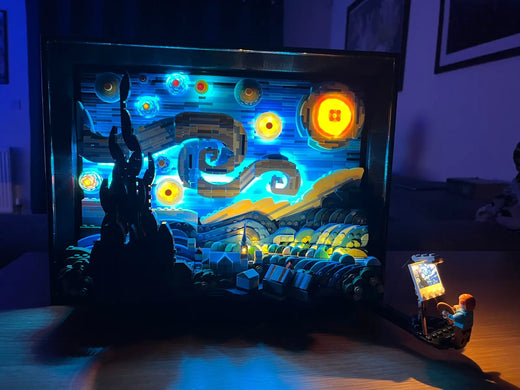
LEGO Vincent van Gogh The Starry Night 21333 illuminated with a Bright My Bricks LED kit
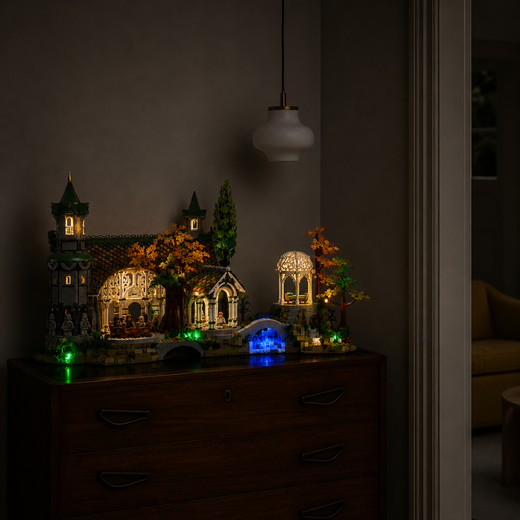
LEGO The Lord of the Rings Rivendell 10316 lit by a Bright My Bricks LED kit
LEGO Icons Shopping Street 11371 with lit shop windows
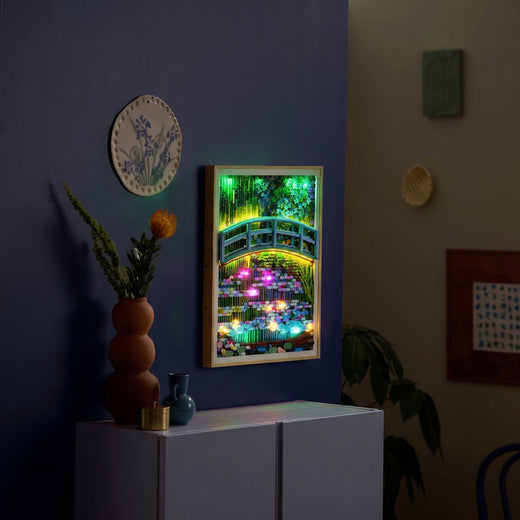
LEGO Art Claude Monet Water Lilies 31220 backlit by an LED light kit
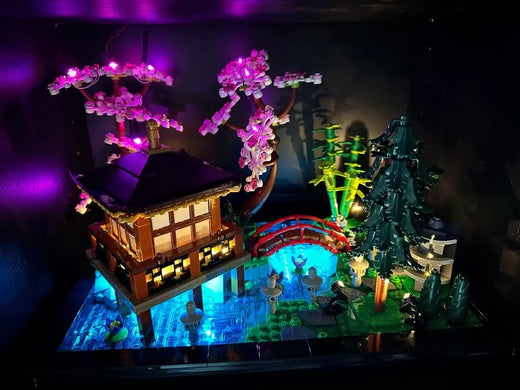
A LEGO build lit by a Bright My Bricks LED kit
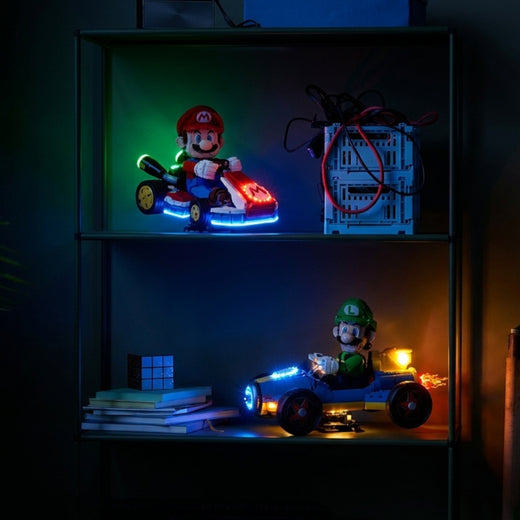
LEGO Super Mario Mario Kart 72037 and Luigi Mach 8 72050 lit by LED kits
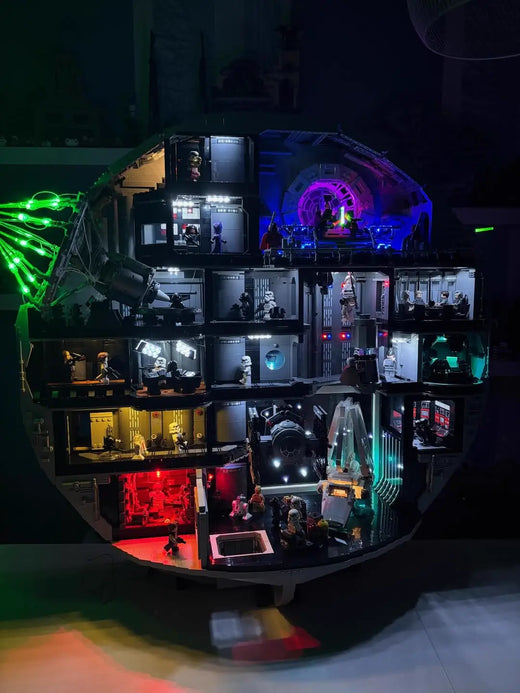
LEGO Star Wars Death Star 75419 with a Bright My Bricks multi-colour LED lighting kit
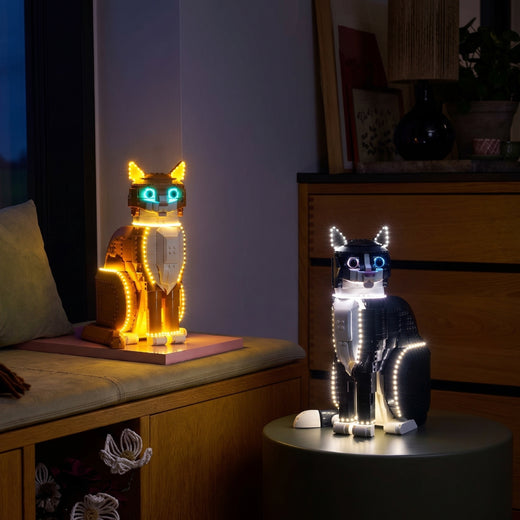
LEGO Ideas Tuxedo Cat 21349 and Orange Cat 21376 lit by Bright My Bricks LED kits

Complete Your Collection

View All