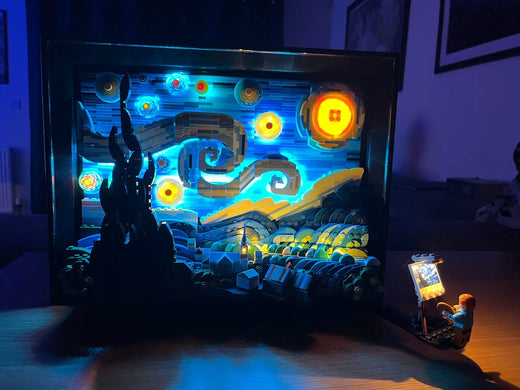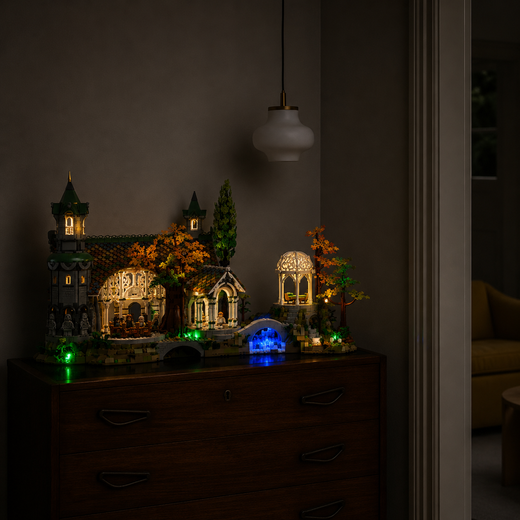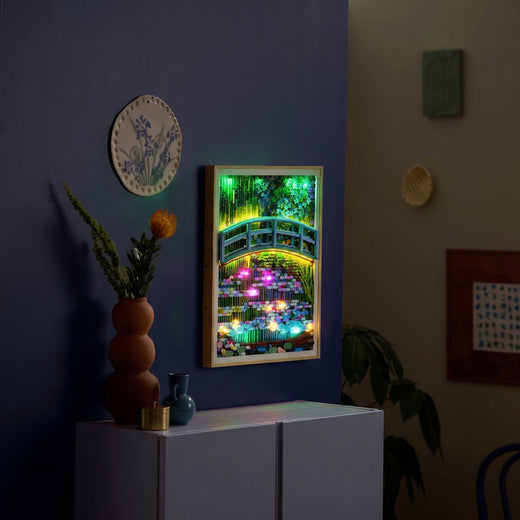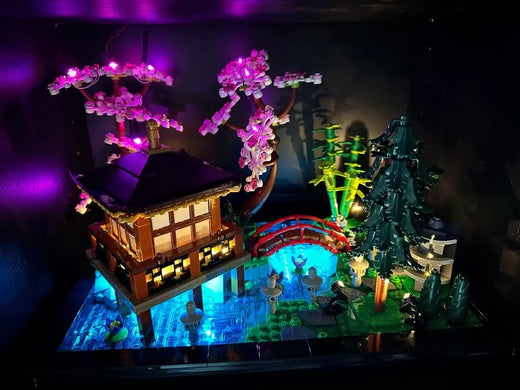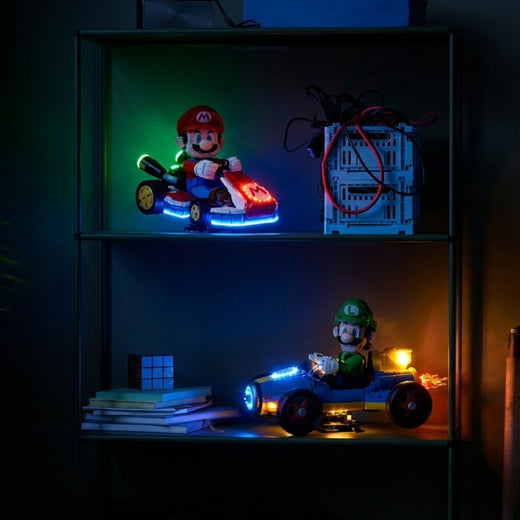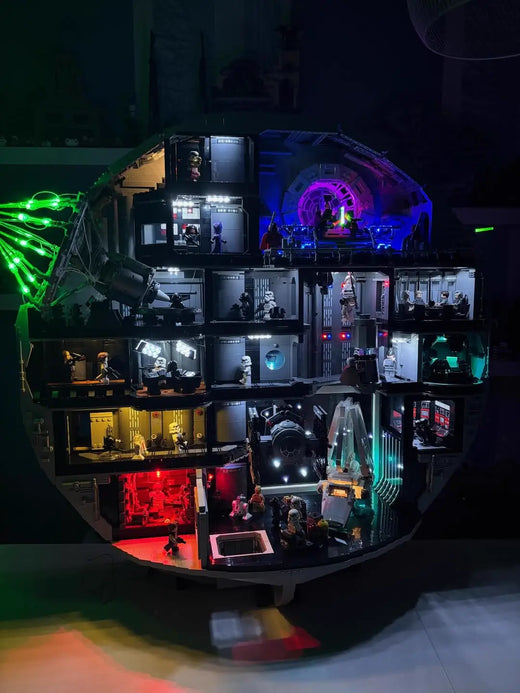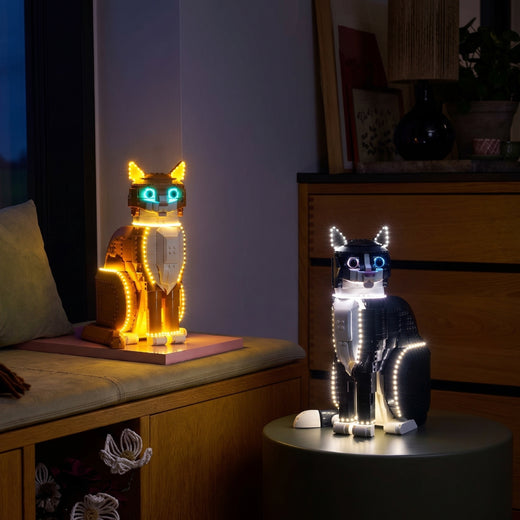
LEGO display lighting can turn a model from an object on a shelf into a scene with depth. The important word is “display”. Good LEDs reveal the build’s composition, texture and focal points. They should not cover every surface with the same colour or brightness.

Light the focal point first
Every strong build has an area that should attract the eye first: a face, a rose window, a vehicle cockpit or the centre of a painted scene. Start there. Secondary lights should support that focal point rather than create several competing highlights.
Use light to reveal texture
LEGO Art sets contain layered plates, tiles and studs that can look flat under normal ceiling light. A controlled side light or backlight reveals the relief. Architecture sets respond well to interior light because windows and arches become part of the composition.

Match colour temperature to the subject
Warm light suits historic buildings, cabins and domestic interiors. Cooler light can reinforce technical scenes, ice, space or moonlight. Strong coloured LEDs work best as accents. If every light is saturated, the original LEGO colours become harder to read.
Control spill and reflections
Glossy tiles and transparent parts reflect more light than expected. Check the model from the real viewing position and adjust LED angles before closing the build. A small change in direction can remove a distracting hotspot.

Build a gallery, not a wall of LEDs
When several illuminated sets share one shelf, use a consistent power setup and limit the number of competing colours. Give each model a clear pool of light and some dark space around it. The result feels deliberate and lets the LEGO remain the main subject.
Lighting turns LEGO into display art when it explains the model: where to look, what to notice and how the scene should feel.