LEGO Eiffel Tower Light Kit Installation – Complete Guide, Challenges & Real-Time Requirements

July 17,2025

Installing an LED light kit on your LEGO Eiffel Tower 10307 can transform your model into a true illuminated masterpiece. This comprehensive guide walks you through every step of the installation process, detailing the specific challenges you'll encounter and the real-time requirements necessary to successfully complete this ambitious lighting project.

Table of contents

  1. Available Lighting Kits Overview
  2. Installation Preparation and Planning
  3. Step-by-Step Installation Guide
  4. Common Challenges and Difficulties
  5. Time Requirements and Realistic Estimates
  6. Expert Tips and Optimization

Available Lighting Kits Overview

Market Leading Brands

Among the lighting options available for the LEGO Eiffel Tower, some stand out for their impressive technical depth — with up to 289 individual LEDs, including 11 large warm white light strings, perfectly replicating the iconic hourly light show of the real Paris landmark. A built-in effects board delivers the signature sparkling animation, while 14 RGB light strips across the tower’s three levels allow for modern color combinations, all fully controlled via remote.


Other kits focus on ease of use, offering pre-assembled systems that simplify installation. With RGB remote controls included, these solutions let you switch between lighting styles effortlessly — ideal for builders just starting to explore lighting their LEGO Creator Expert sets.


Bright My Bricks, however, offers a balanced solution — thoughtfully designed by AFOLs, for AFOLs. Our professional lighting kits are engineered for enthusiasts who seek seamless integration, immersive effects, and long-term reliability, without compromising on visual impact.

Technical Specifications Comparison

Kits vary considerably in terms of complexity and component count. The Light My Bricks kit stands out for its exceptional number of LEDs but requires a USB power adapter since standard power banks don't provide sufficient power. This technical requirement constitutes a crucial point to consider when planning your installation.


Simpler kits generally use AA batteries or standard USB power systems, offering more flexibility in placement but with less spectacular lighting effects. Those exploring LEGO Architecture lighting solutions will find similar power considerations apply across different architectural sets.

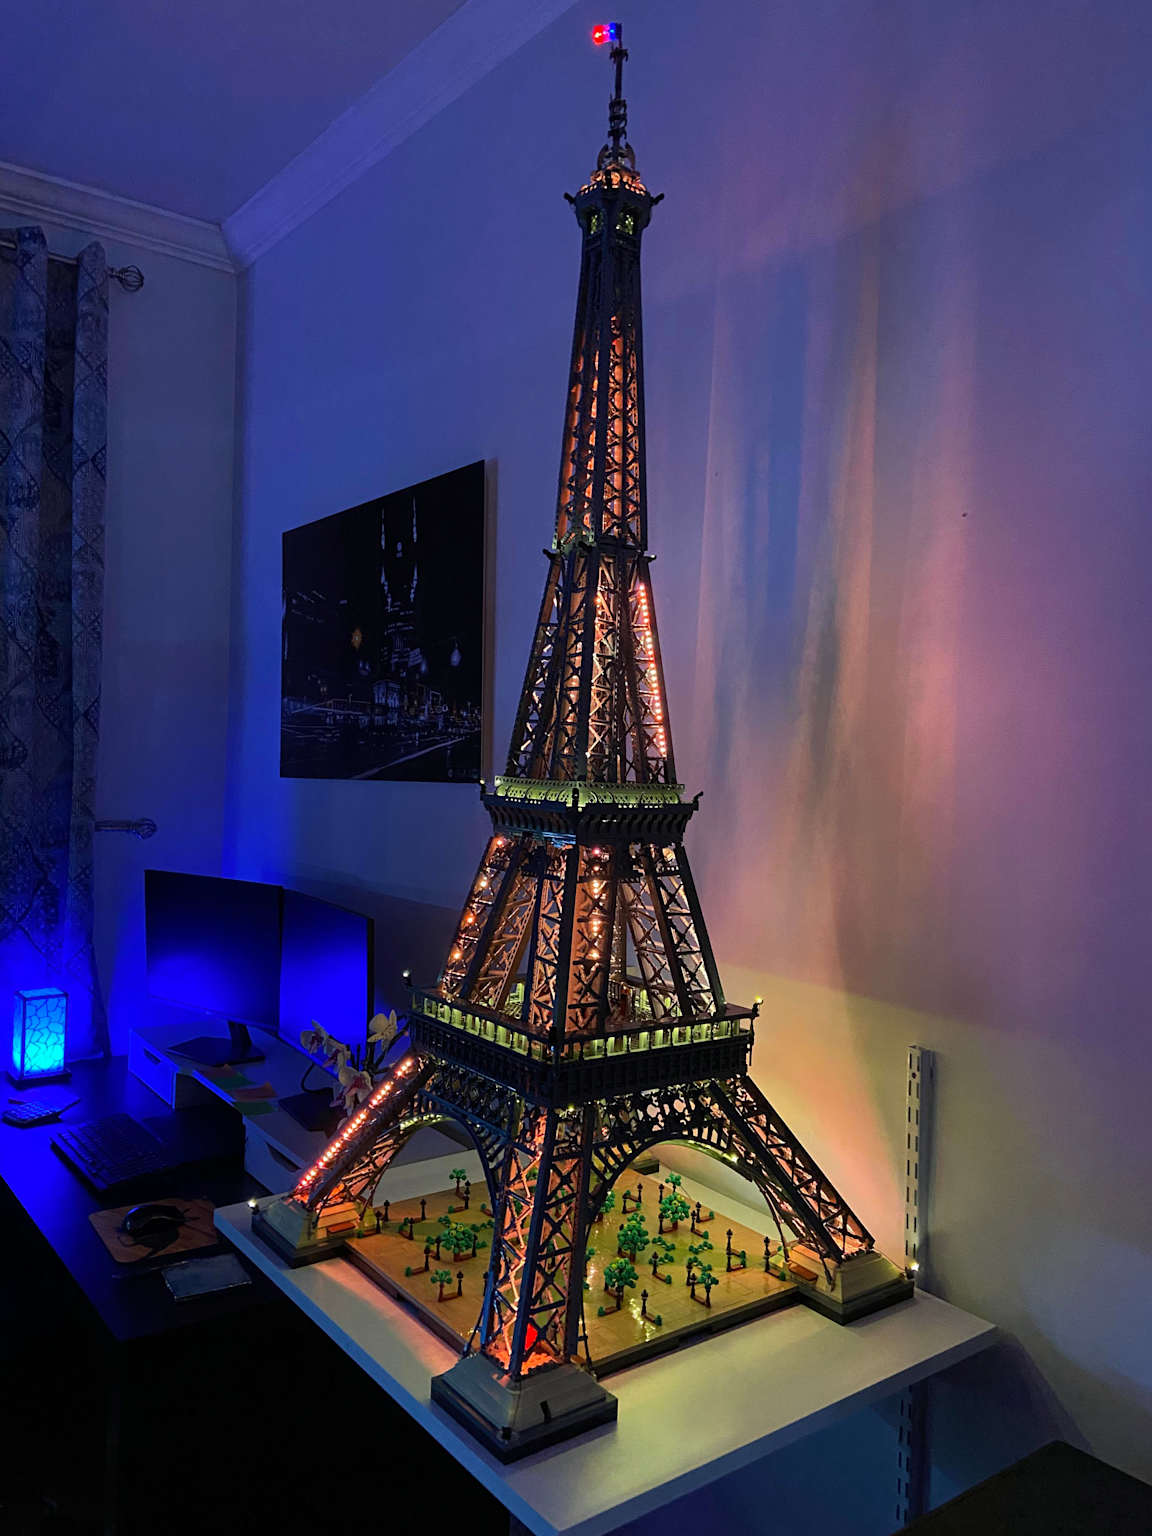
Real photo of a LEGO Eiffel Tower model with LED strip lighting installed, showcasing its illuminated details in a room setting 

Installation Preparation and Planning

Evaluating Your LEGO Model

Before beginning installation, it's essential to assess the condition of your Eiffel Tower 10307. Experienced users strongly recommend fully assembling the LEGO model before installing the lights. This approach allows you to familiarize yourself with the structure and identify potentially fragile areas.


The 10307 model presents specific structural challenges, particularly at the arch level which can detach easily. Builders report difficulties maintaining the arches connected to the base, sometimes requiring specific flexing techniques to prevent pieces from returning to their original straight form.

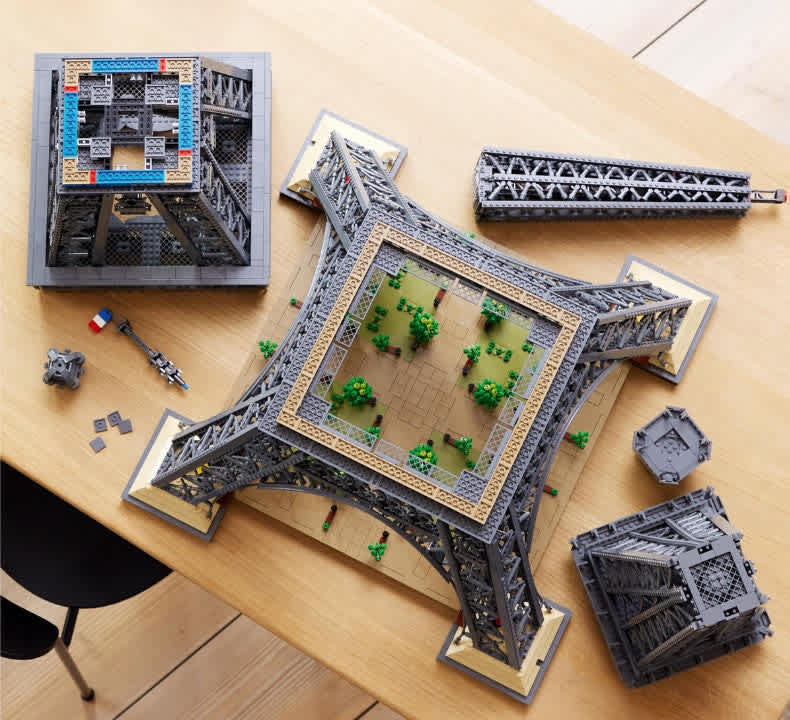
Real photo of a disassembled LEGO Eiffel Tower model showing detailed parts and structure on a wooden table

Required Tools and Materials

Adequate preparation requires several specialized tools:


-LEGO brick separator (essential for partial disassembly)

-AA batteries or power adapter depending on the chosen kit

-Well-lit and organized work surface

-Containers for sorting disassembled pieces

-Kit instruction manual (often available via QR code)


Manufacturers recommend testing all components before installation to ensure proper functioning of each LED and connection. This preliminary verification can avoid major frustrations during installation.


For those working with LEGO Modular Buildings lighting, similar preparation principles apply across different architectural sets.

Real photo of the LEGO Eiffel Tower set box (10307) showing the model and piece count

Cable Routing Planning

Cable management represents the most frequent challenge according to 95% of users. Careful routing planning is crucial for maintaining the model's aesthetics. Next-generation 2.0 cables are designed to fit between LEGO studs, allowing pieces to be placed directly on top without compromising the design.

Step-by-Step Installation Guide

Phase 1: Strategic Partial Disassembly

Installation invariably begins with partial disassembly of the model, affecting 90% of installations according to user data. This phase generally adds 90 minutes to the total installation time.


The disassembly process must be methodical and documented. Photograph each section before disassembly to facilitate reassembly. Critical areas include:

  • Base arches (particularly fragile)
  • Connections between levels
  • Decorative elements at the summit
  • The esplanade and its miniature trees

Phase 2: Installing Lighting Components

The actual installation varies according to the chosen kit. Light My Bricks kits use a modular system with expansion boards allowing multiple lighting elements to be connected. This modular approach facilitates troubleshooting but complicates initial installation.


Electrical connections must be made precisely. 60% of users encounter difficulties at this level, adding approximately 25 minutes to installation time. Connectors may seem resistant, but forcing an incorrect connection can damage delicate components.


For those interested in expanding their lighting projects, our LEGO Star Wars lighting collection uses similar connection techniques.

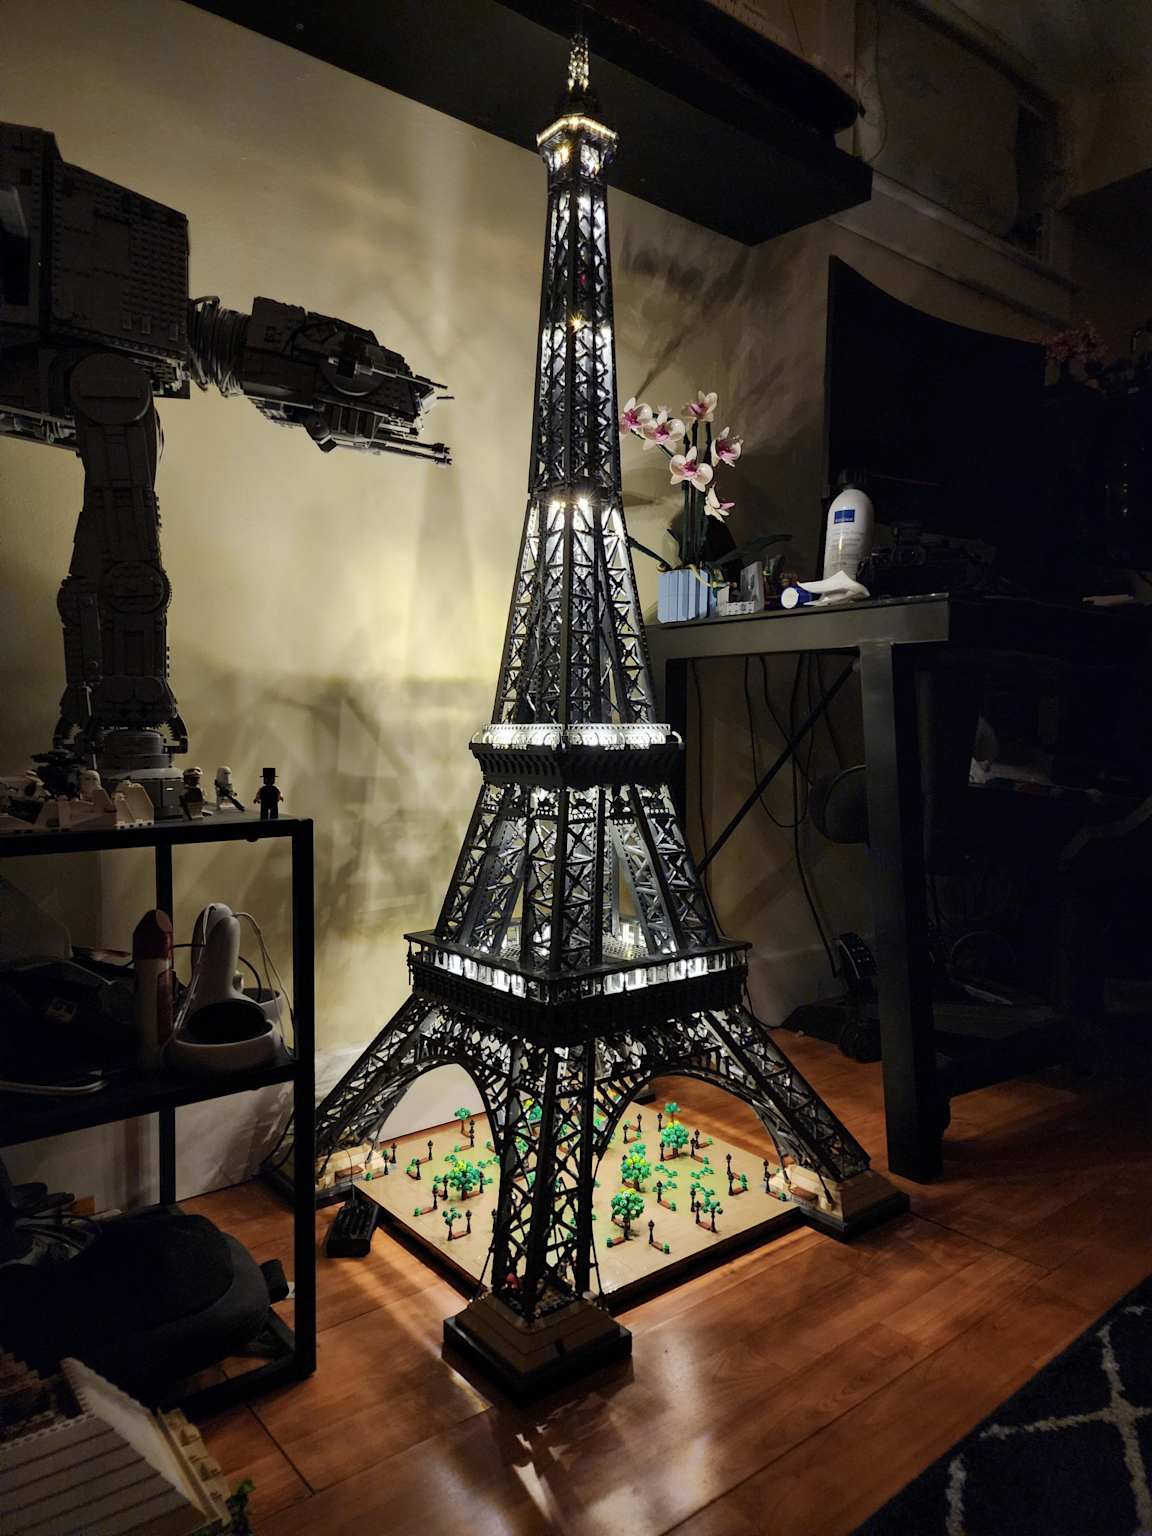
Real photo of a LEGO Eiffel Tower model with LED lights installed, showcasing detailed construction and lighting effects

Phase 3: Cable Routing and Concealment

Cable concealment constitutes an art in itself, affecting 85% of installations. Advanced techniques include:

  • Threading through gaps: passing cables through small spaces
  • Between-stud routing: placing cables between studs
  • Under-floor concealment: hiding under floors
  • Behind-structure hiding: concealing behind structural elements

Experts recommend never forcing cables and letting them "rest comfortably between studs." Spare cables should be concealed under bricks.

Phase 4: Testing and Adjustments

Each installed section should be tested immediately before proceeding. This incremental approach allows quick identification of connection problems or defective LEDs. Modern systems often include effects boards allowing realistic scintillations or blinking effects.

Common Challenges and Difficulties

Cable Management: The Major Challenge

Cable management universally represents the greatest challenge, affecting 95% of installations. Manufacturers have considerably improved their cables in recent years, but the structural complexity of the LEGO Eiffel Tower creates unique challenges.


Modern cables often measure less than 2mm thick, allowing discreet routing, but this fineness also makes them more fragile. Management techniques include using modified LEGO mini-figures as cable organizers and employing specialized LEGO pieces as cable guides.

Structural Fragility

80% of users report difficulties with fragile model pieces. The Eiffel Tower 10307 uses numerous clip connections and flexible elements that can detach under cable installation stress.


First-level arches are particularly problematic. Experienced users recommend "completely flexing each arch component as a single unit before positioning." This technique prevents elements from returning to their natural straight form.

Real photo of a man standing next to a detailed LEGO Eiffel Tower model in an office setting

Power Supply Issues

40% of installations encounter insufficient power supply problems. Premium kits like Light My Bricks require specialized power adapters, as standard USB power banks (3350mAh) cannot provide sufficient power.


This limitation imposes placement constraints and may require extensions or creative power solutions for showcase installations.


For builders working with LEGO Technic lighting projects, similar power considerations apply to motor-integrated builds.

Electrical Connection Problems

60% of lighting kit issues are caused by faulty electrical connections. The most common culprits include:

  • Misaligned or improperly connected plugs
  • Oxidized contacts reducing conductivity
  • Cables pinched or damaged during installation
  • Component mismatches between different brands

These problems often result in flickering LEDs, unlit sections, or incorrect colors on RGB strips.

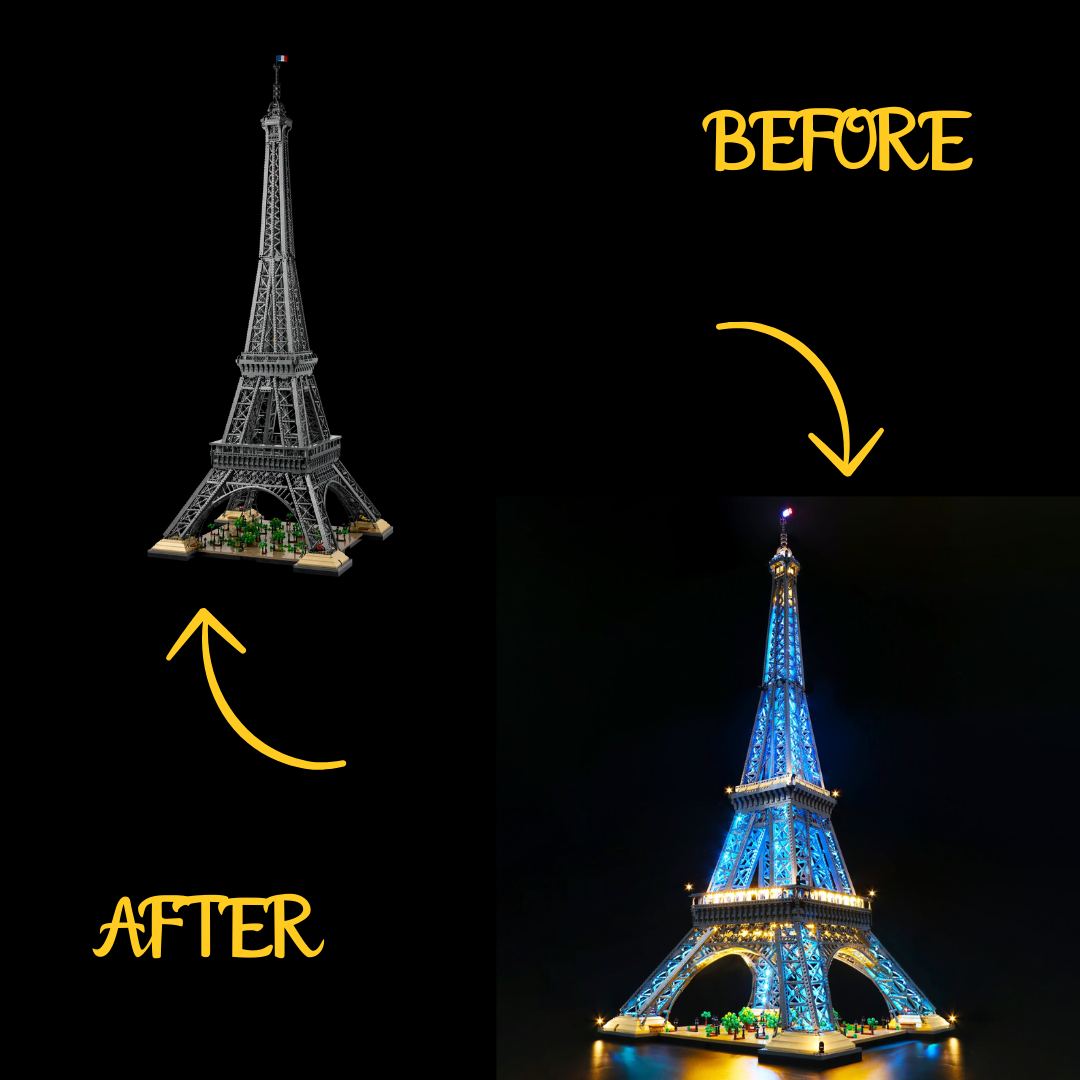
LEGO Eiffel Tower model illuminated with LED lights, shown in a real user photo against a black background

Detailed Time Breakdown

User data reveals a typical time distribution:

  • Preparation and planning: 30-45 minutes
  • Partial disassembly: 60-90 minutes
  • LED installation: 120-180 minutes
  • Cable routing: 90-120 minutes
  • Testing and adjustments: 30-60 minutes
  • Final reassembly: 45-75 minutes

These estimates include necessary breaks to avoid fatigue, particularly important when handling delicate pieces.

Installation Time Optimization

Experienced installers recommend several optimization strategies:

  • Sectional installation: Divide the process into multiple sessions of 2-3 hours maximum to maintain concentration and avoid fatigue-related errors.
  • Intensive preparation: Dedicating 30% of total time to planning and organization can significantly reduce later complications.
  • Photographic documentation: Photographing each disassembly step considerably facilitates reassembly and reduces errors.

For those planning multiple lighting projects, our LEGO lighting bundle collections offer cost-effective solutions for comprehensive illumination.

Expert Tips and Optimization

Maintenance and Durability

Preventive maintenance is crucial for your installation's longevity:

  • Regular cleaning with antistatic tools
  • Quarterly connection verification
  • Humidity protection in variable environments
  • Complete installation documentation to facilitate future repairs

For ongoing support and maintenance tips, explore our LEGO lighting maintenance guide.

Smart Home Integration

Modern installations can integrate into broader smart home systems. Remote control kits often offer automation possibilities via IR or Bluetooth interfaces. This integration allows programmed lighting scenarios and synchronization with other elements of your illuminated LEGO collection.


Those interested in expanding their smart lighting setup should explore our All LEGO lighting solutions.

Subscribe

To join our mailing list and never miss a baby update!

Thanks for contacting us. We'll get back to you as soon as possible.

Featured product

Multi-Color Light Kit for LEGO® Eiffel Tower #10307

Title

Trending Articles

Title

Follow us 

Title

LEGO Collecting & Investment FAQ

Got questions? We’ve got answer...

Do I need to completely disassemble my Eiffel Tower to install the lighting kit?

No, only partial disassembly is necessary. Focus on sections where LEDs will be installed, generally the base arches, intermediate levels, and summit. 90% of installations require this partial disassembly.

How much time should I plan for complete installation?

For a standard kit, plan 4-6 hours for a beginner, 6-8 hours for a premium Bright My Bricks kit. Custom DIY kits may require up to 10-15 hours.

What should I do if my LEDs flicker erratically?

Flickering generally indicates power supply problems or loose connections. Verify that your power source provides sufficient power (premium kits require power adapters) and check all connections.

How do I manage cables without compromising the model's aesthetics?

Use the between-stud routing technique: modern cables are thin enough to fit between LEGO studs. Plan your routing before installation and use LEGO pieces as cable guides.

How do I optimize battery life with battery power?

Use high-capacity rechargeable batteries, implement timers to limit usage duration, and consider kits with power-saving modes. Modern LEDs are more efficient but battery life remains limited for large installations.

Built by You

Share your photos on Instagram and tag @brightmybricks in the caption for a chance to be featured on our website.

Subscribe To Newsletter

Join the best newsletter that you never knew you needed. You'll get 3 emails per week new blog posts, product launches, giveaways, and motivation to help you Keep on Growing.

Thanks for contacting us. We'll get back to you as soon as possible.

Our Newsletter

Sign up for the latest Ice offers and exclusives

Thanks for contacting us. We'll get back to you as soon as possible.

© 2025 Bright My Bricks all rights reserved. LEGO® is a trademark of the LEGO Group of companies which does not sponsor, authorize or endorse this site.